This 2-week Patagonia travel itinerary covers must-visit places, the best time to visit, and essential travel tips for exploring this breathtaking region. Patagonia is a wild and breathtakingly unique destination that should be on every adventurous traveler’s bucket list. We spent an unforgettable month road-tripping through this vast and rugged region, encountering epic landscapes and creating memories that will last a lifetime. From towering mountains, pristine lakes to cute animals, Patagonia is one of the most exhilarating adventure travel destinations in the world.
In this Patagonia travel itinerary, we’ll share all the essential information you need to plan your own Patagonian adventure, from the best places to visit to tips for making the most of your journey.
Patagonia Travel Itinerary: Best Time to Visit
The best time to visit Patagonia is during the summer season, which runs from late November to March. During this period, both the Chilean and Argentine sides of Patagonia experience warmer temperatures and longer daylight hours, making it ideal for outdoor adventures. However, you should be prepared for Patagonia’s infamous winds! The weather here is notoriously unpredictable, and it’s possible to experience all four seasons in a single day.
We visited Patagonia from mid-January to mid-February and enjoyed plenty of sunny days, although the winds were unlike anything we had experienced before. The occasional rain would roll in suddenly, but overall, we couldn’t complain about the weather—it added to the sense of adventure! 🙂
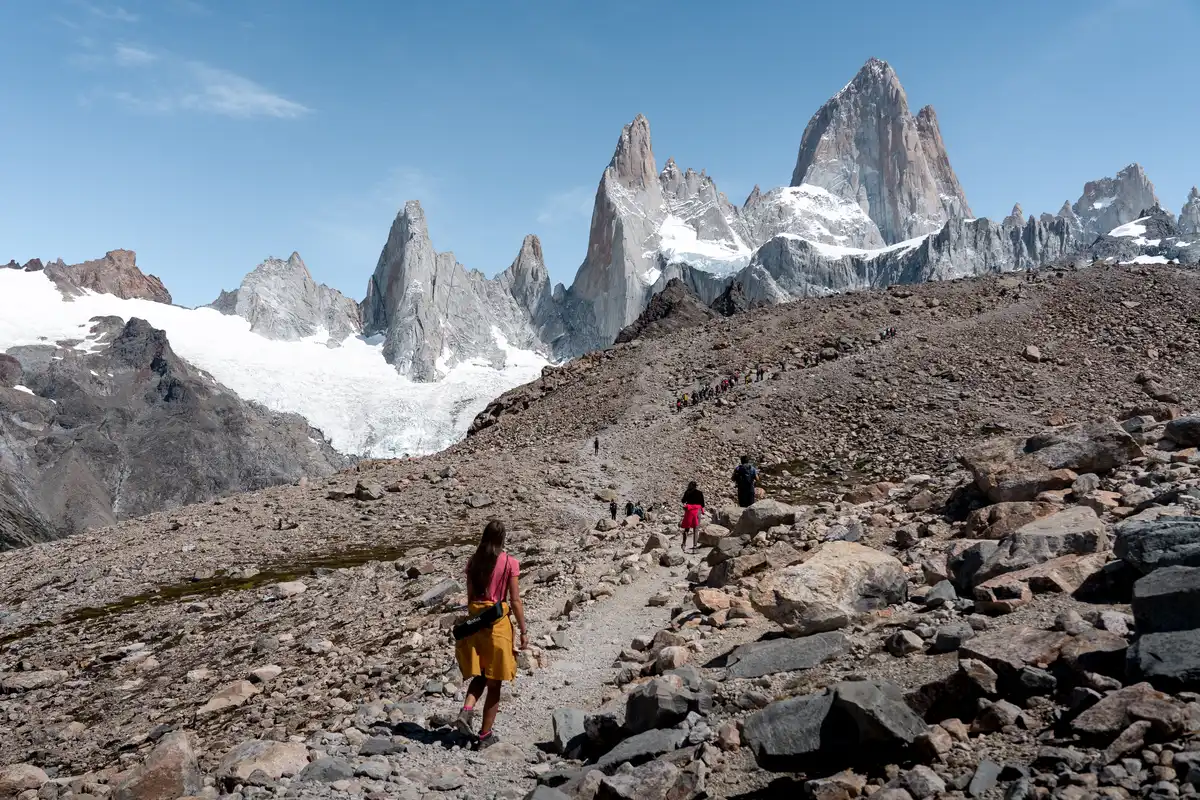
Patagonia’s climate: Month by Month
- November: Spring in Patagonia brings blooming wildflowers and melting snow. This is one of the best times to road trip along the scenic Carretera Austral, with its lush landscapes and fewer tourists. Antarctic cruises also start operating as sea ice begins to break up around the White Continent. Expect daytime temperatures between 41°F (5°C) and 59°F (15°C).
- December: Warmer temperatures arrive, ranging from 45°F (7°C) to 64°F (18°C), with fewer crowds before peak season. It’s perfect for hiking in Torres del Paine, El Chaltén, and El Calafate. The Antarctic cruise season is in full swing, and the winds remain strong.
- January: The height of summer brings warmer days, with temperatures ranging from 50°F (10°C) to 68°F (20°C). This is peak season, so expect crowds, but also the best time to explore Patagonia’s stunning fjords and popular trails. High winds are typical, especially in exposed areas. Antarctica sees its busiest time as well.
- February: Temperatures stay warm, between 48°F (9°C) and 66°F (19°C). It’s the best time to drive the scenic Carretera Austral (Ruta 7), watch whales in Antarctica, and see young penguins in Punta Tomba. Bariloche is great for hiking and delicious steaks, and as always, expect strong winds.
- March: Autumn begins, and temperatures cool, with lows of 39°F (4°C) and highs around 52°F (11°C). This is a quieter time in Patagonia with fewer crowds. Fall colors start to appear, and it’s a great time to explore National Parks in peace. The Carretera Austral is still beautiful, but days are breezier and more humid.
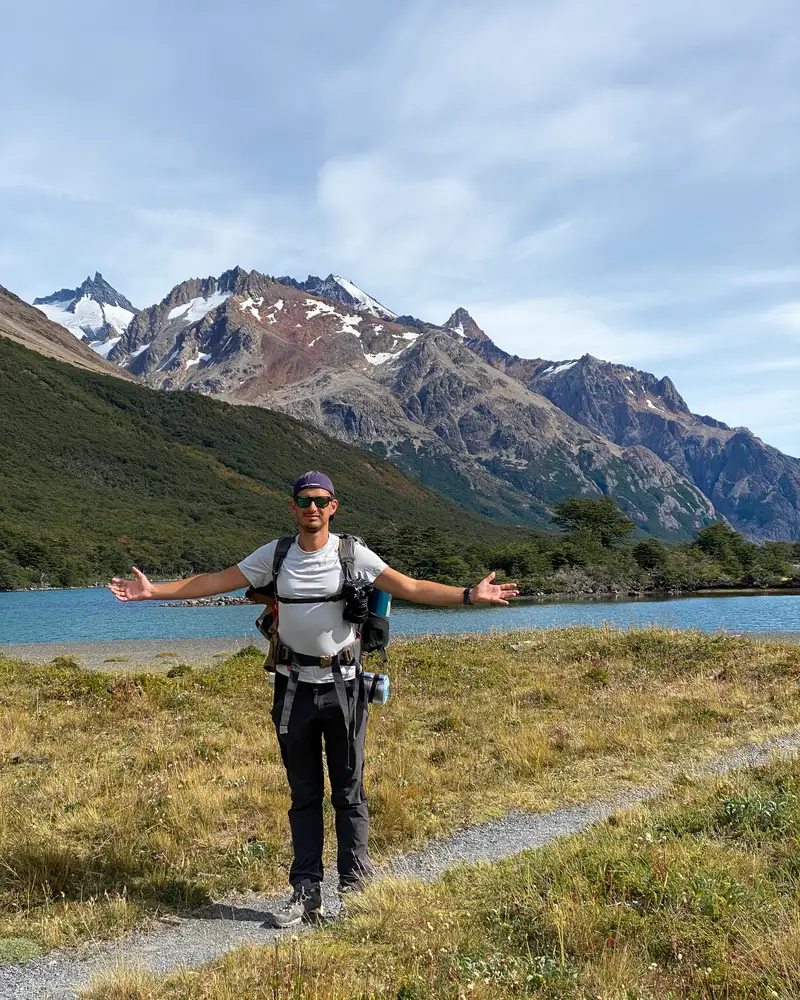
Patagonia Travel Itinerary: Getting to Patagonia
The easiest way to get to Patagonia is by flying into Santiago de Chile, the capital, and then taking a connecting (low cost airline) flight south. Your destination will depend on where you want to start your adventure—common entry points include Punta Arenas, Puerto Natales, El Calafate or Puerto Montt.
We chose to fly into Punta Arenas, as we found the most affordable rental car options there and wanted to explore the southern region first. Afterward, we flew from Punta Arenas to Puerto Montt, where we rented another car to drive along the scenic Carretera Austral (Ruta 7) and explore the northern part of Patagonia.
Patagonia Travel Itinerary: Traveling Around
There are several ways to travel around Patagonia, depending on how much time you have and the level of adventure you’re seeking. The most budget-friendly option is hitchhiking, which is surprisingly common in the region. We were amazed at how many hitchhikers we encountered, and we even gave a ride to one group ourselves.
Another option is taking the bus, although we found it less convenient due to limited flexibility with schedules. For those who prefer to explore on two wheels, cycling around Patagonia is also popular. While we admired the determination of the cyclists, we couldn’t imagine braving the region’s strong winds and heavy rains on a bike! So we decided to go with renting as car.
The most expensive option is renting a car, which is what we chose. While it’s a bit pricier, it gave us the freedom to explore Patagonia at our own pace and easily cross the borders between Chile and Argentina. Plus, we saved money by sleeping in the car and cooking along the way.
Renting a Car in Patagonia
To rent a car in Patagonia, you must be 21 or older with a valid driver’s license. We rented in Punta Arenas, where both international chains and smaller companies operate. We chose ASV Rent a Car Punta Arenas because they didn’t require a credit card (as many larger companies do) and offered a border crossing permit to Argentina at a reasonable price.
If you plan to cross the Chile-Argentina border, ensure the rental company allows it. During peak season (December to March), cars can sell out, so booking a few months in advance is wise.
We rented from ASV Rent a Car Punta Arenas, and we couldn’t have been happier with the experience. The service was top-notch, with a super-friendly owner and family. Communication was easy through WhatsApp, and they were very accommodating with all of our requests. Returning the car was hassle-free, and we’d definitely rent from them again!
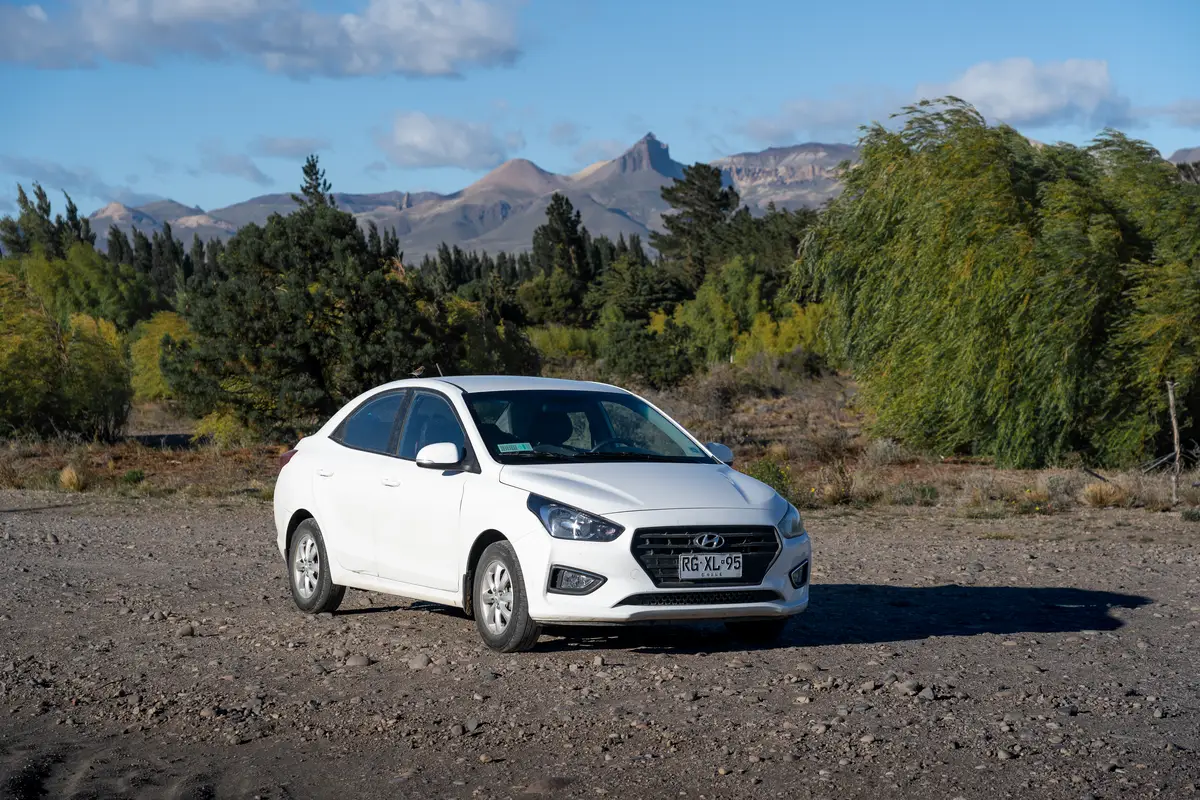
For our southern Patagonia road trip, we rented a small Hyundai Verna, which cost 481,000 CLP ($530) for 13 days, including the border crossing permit. The permit for Argentina costed 53,000 CLP ($58). (Prices from 2023).
Our Patagonia Travel Itineary
DAY 1 – DAY 3: Exploring the End of the World
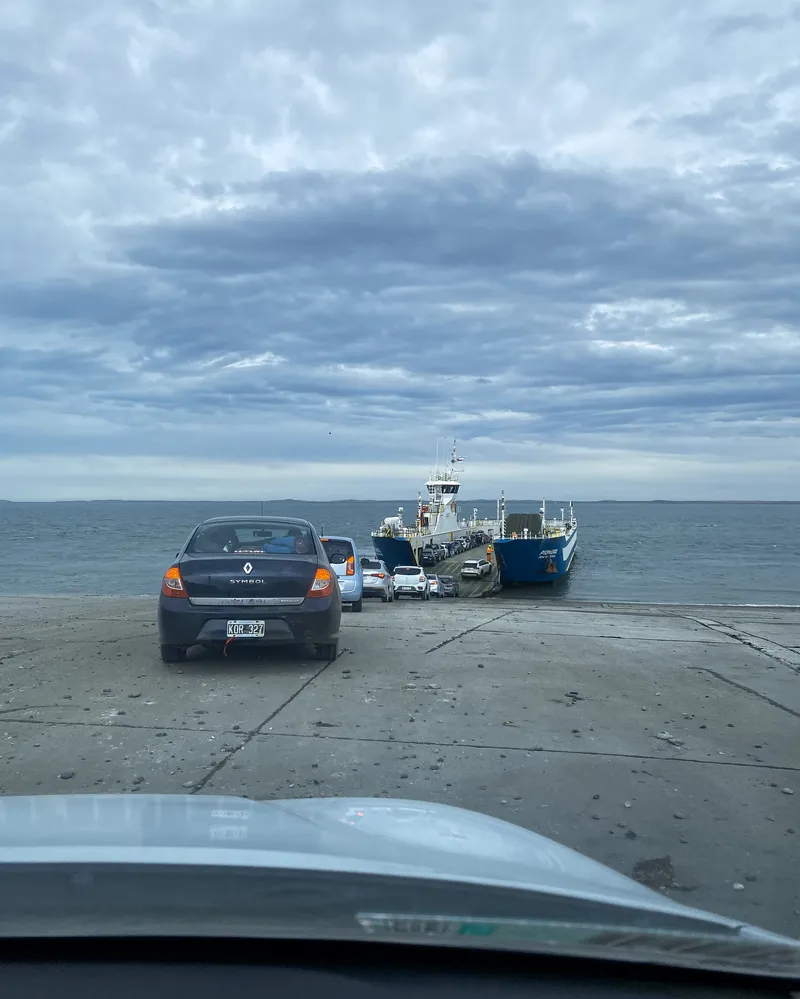
We began our Patagonian adventure in Punta Arenas, where we picked up our rental car early and headed straight for the “End of the World”—the town of Ushuaia. To get there, you’ll need to take a ferry from Muelle de Punta Delgada to Bahía Azul with the Tabsa company. There’s no need to book in advance, as the ferry operates on a first-come, first-served basis.
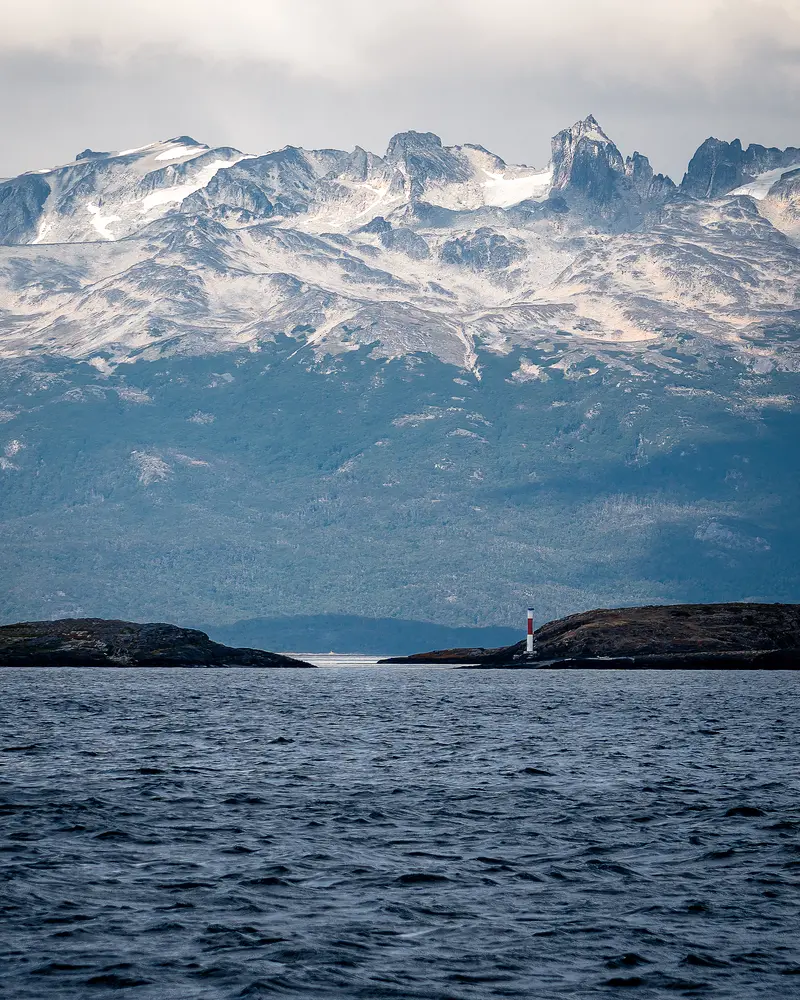
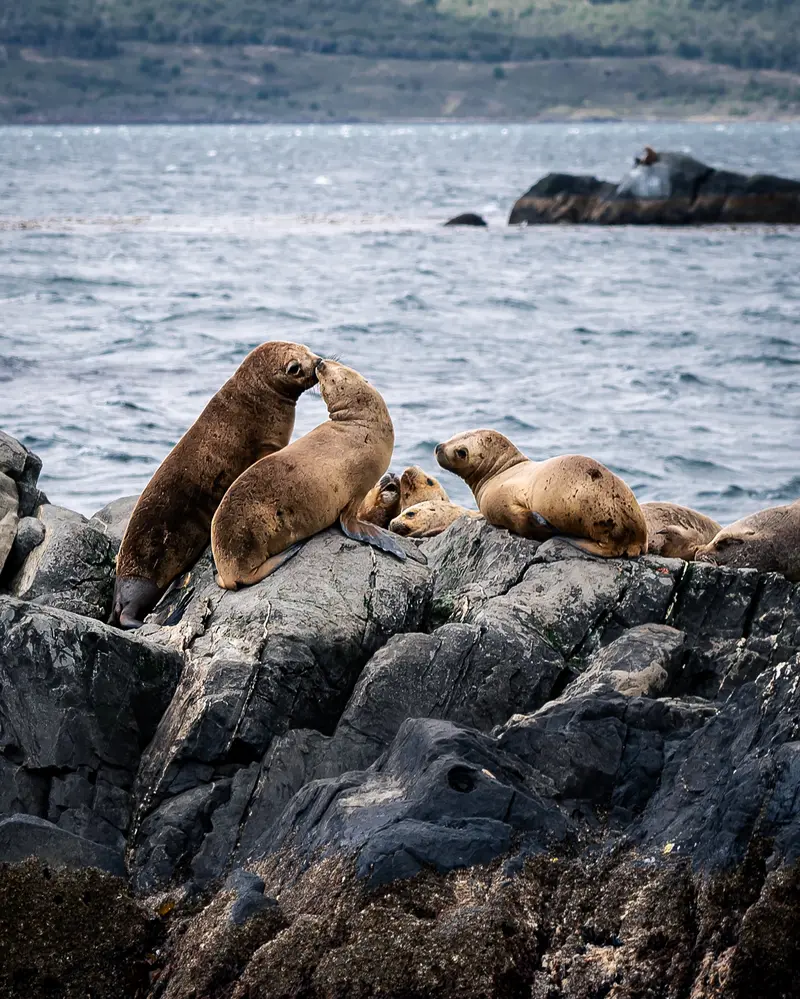
Upon arrival in Ushuaia, we set up camp at Camping Municipal for the night. The following morning, we took a boat tour with Patagonia Adventure Explorer through the Beagle Channel. This 4-hour excursion offered stunning views of sea lions and the famous lighthouse. We also enjoyed breathtaking views of the surrounding mountains from a unique water perspective. It was a perfect way to experience Ushuaia’s beauty from a different angle. After the tour, we spent the afternoon strolling around town and soaking in the local atmosphere.
The next day, we highly recommend visiting Tierra del Fuego National Park. On the way back, make a stop at Laguna Esmeralda for a scenic hike, and don’t miss the stunning views at Paso Garibaldi. We took a shower in in Banos Publicos con Duchas in Cerro Sombrero and spent the night in our car there, ready for the next leg of our adventure.
DAY 4: El Calafate
After breakfast, we hit the road toward El Calafate, a 5-hour drive from our stop (or about 11 hours if driving straight from Ushuaia). Once we arrived, we strolled through the charming town, cooked dinner, and even grabbed a shower at the YPF gas station (the best spot to find shower in Argentina!). We then found a quiet spot to overnight in our car, excited for the adventures the next day would bring.
DAY 5: Perito Moreno Glacier
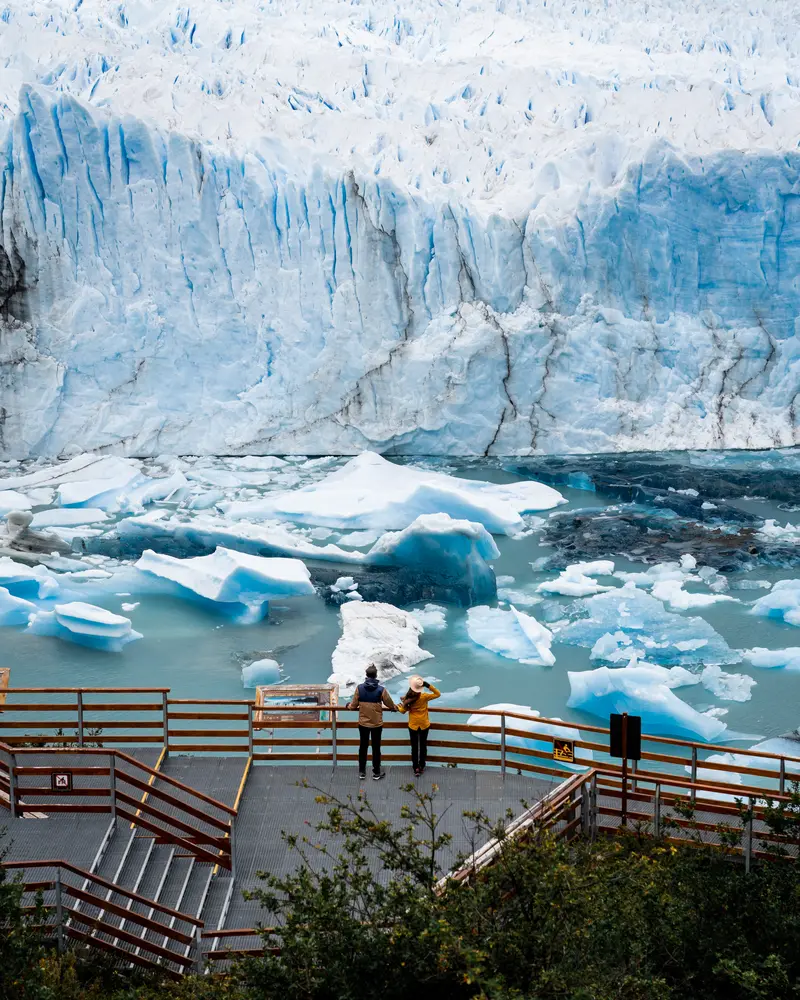
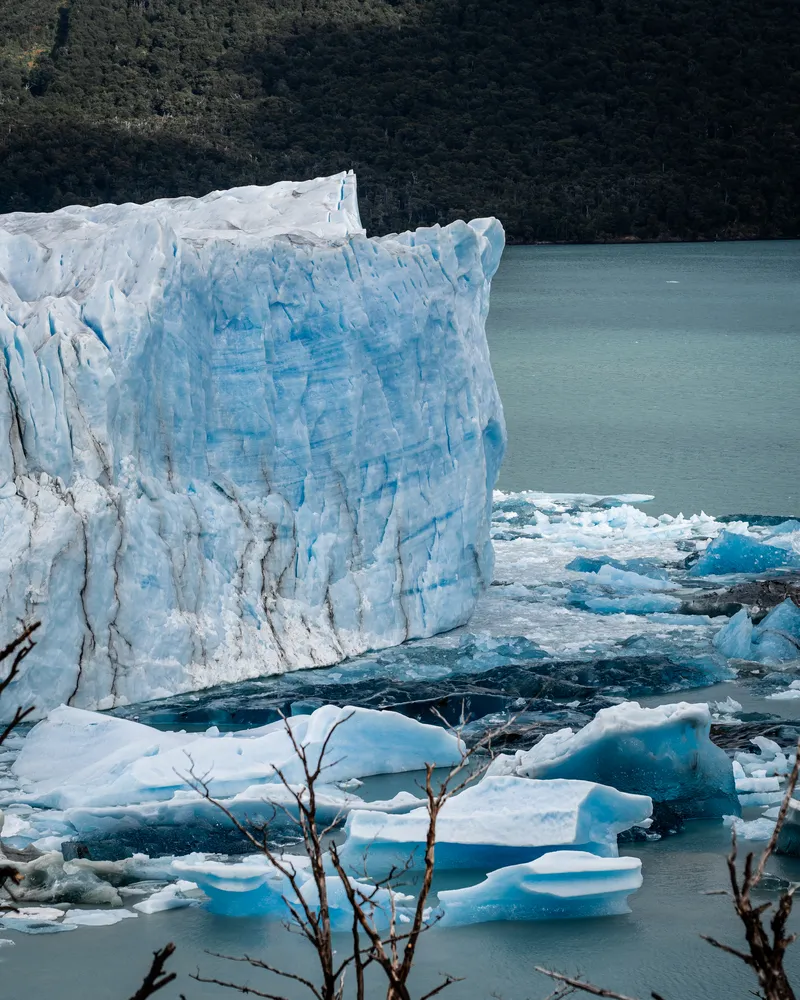
We started the day early and drove 1.5 hours from El Calafate to visit the incredible Perito Moreno Glacier. While we chose to admire the glacier from the observation decks, there are tours available in El Calafate that take you directly onto the glacier for a guided walk. The views from the decks were still breathtaking. We were lucky enough to witness chunks of ice crashing into the water, which made an unforgettable, thunderous sound!
Entrance fee to visit Glaciers National Park for foreigners is 30,000 ARS (30 USD) per day- Oct 2024.
DAY 6: Heading to El Chaltén
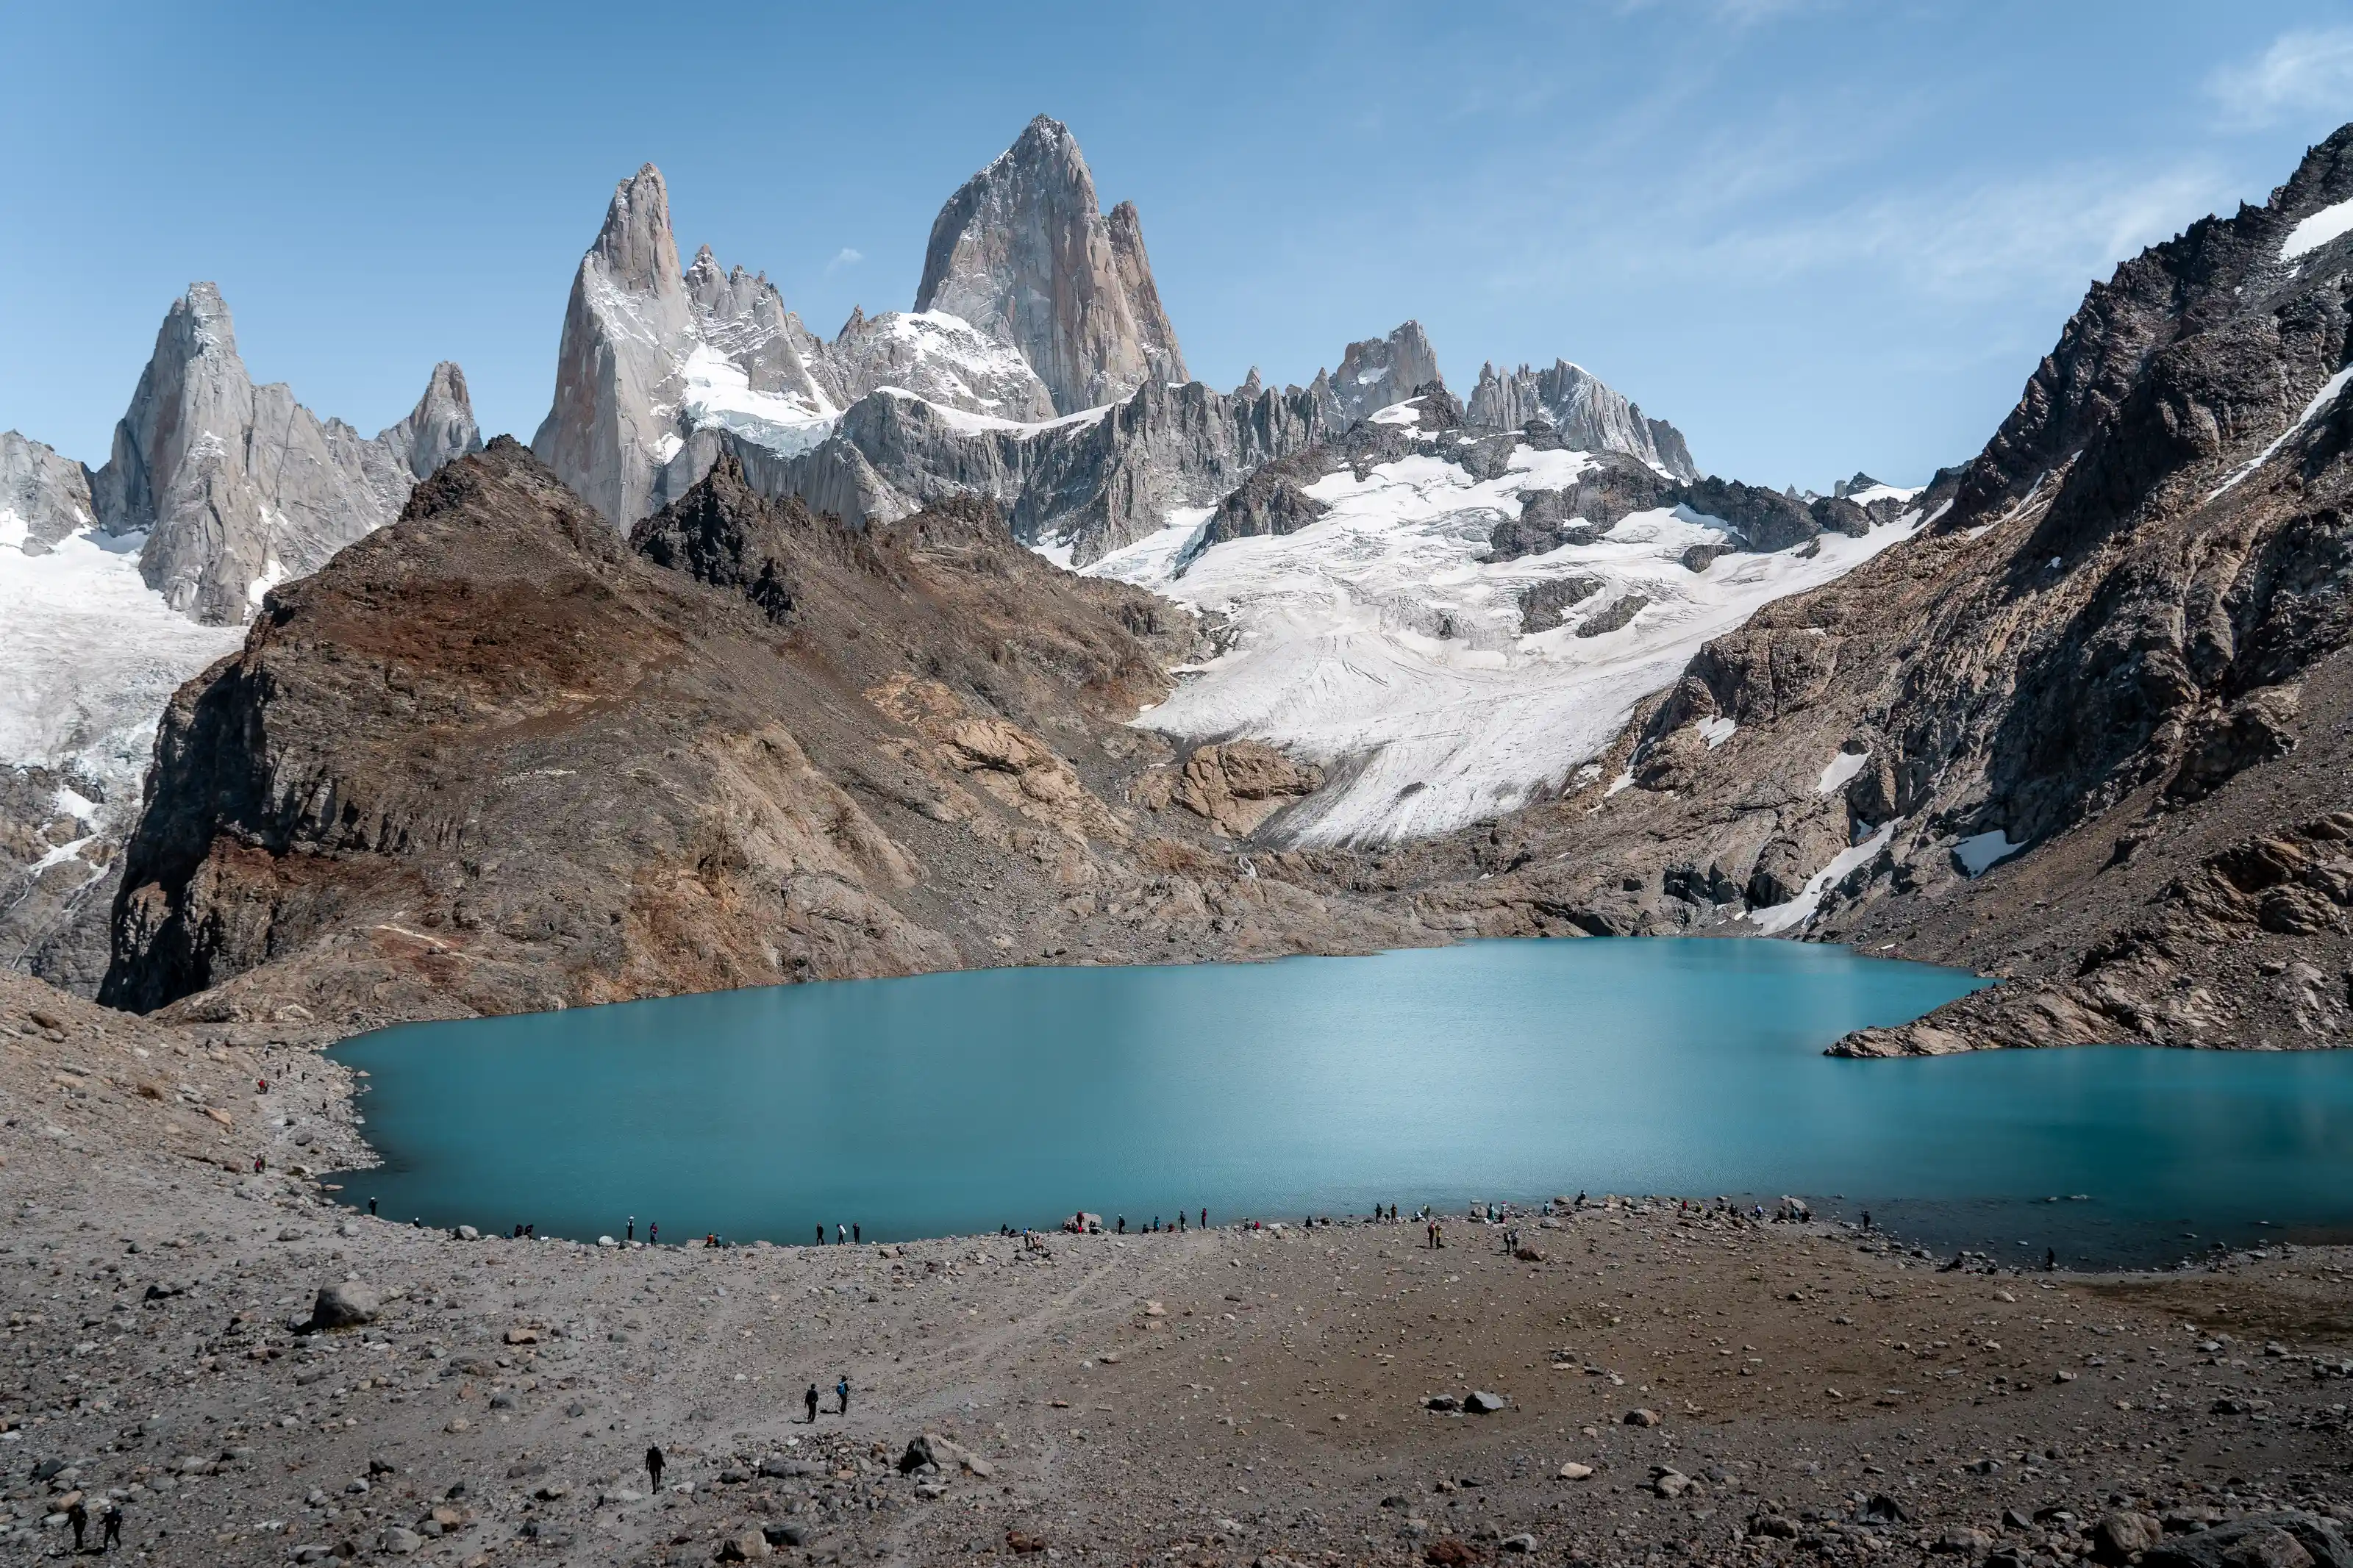
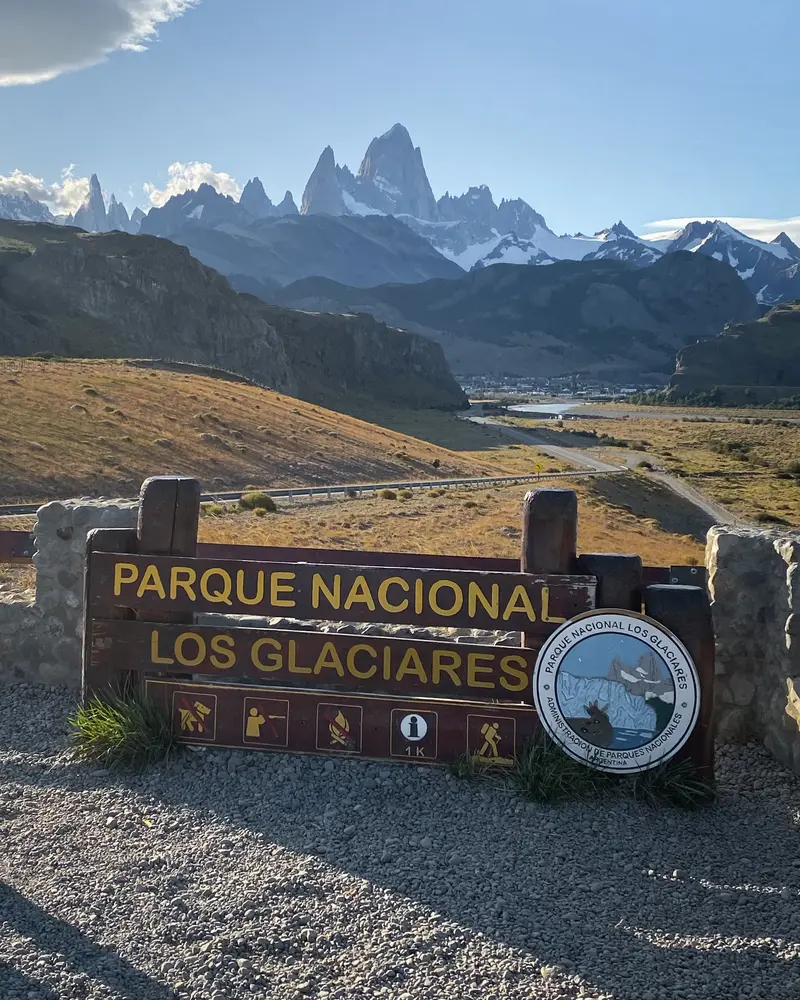
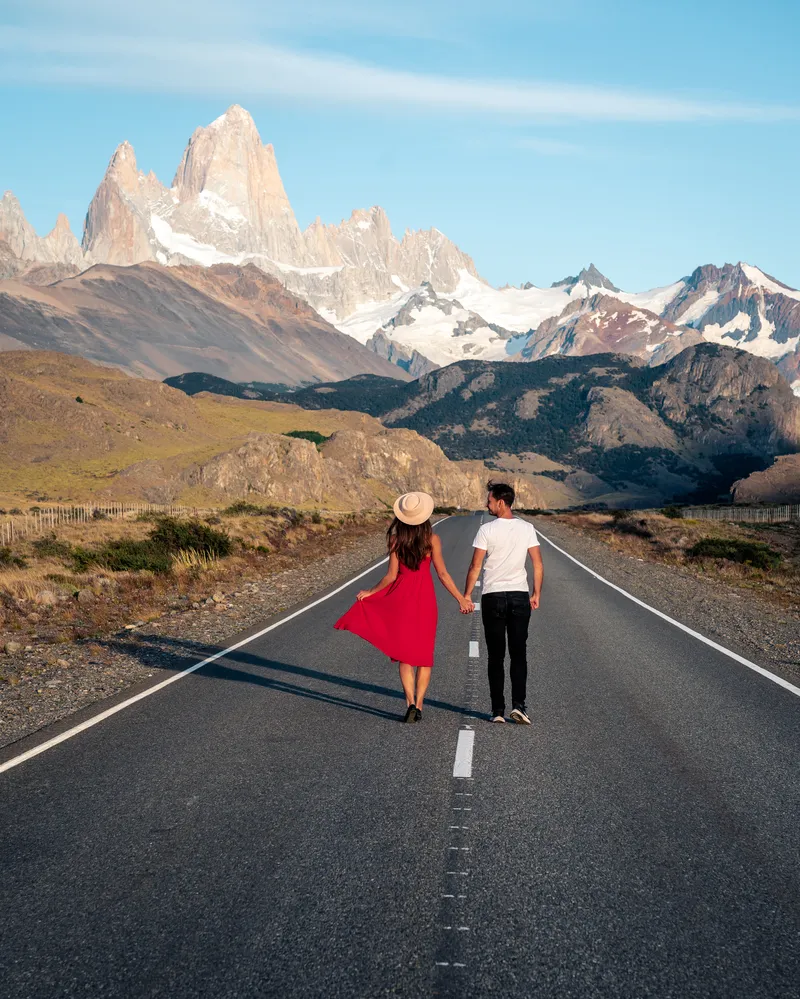
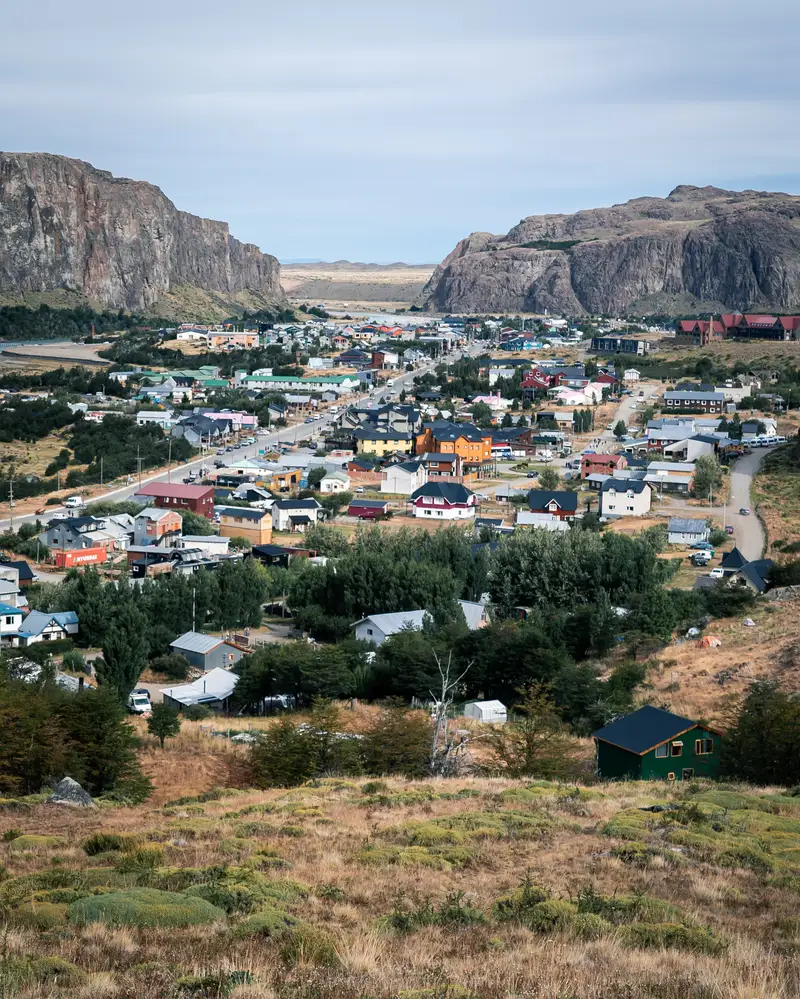
It was time to move on and visit El Chaltén. There we planned a 2-day hike to see both Torre Lagoon and the iconic Fitz Roy. While it’s possible to do both hikes in a single day, we wanted to experience the magic of sunset and sunrise in the area, so we decided to camp overnight in Los Glaciares National Park.
To rest up before the challenging trek, we opted for a night of proper sleep at Hosteria Los Ñires in El Chaltén. We didn’t book in advance, as we wanted to stay flexible, and simply asked about availability when we arrived. The accommodation was reasonably priced, and it was a great way to recharge before the adventure ahead.
DAY 7: Trek to Torre Lagoon
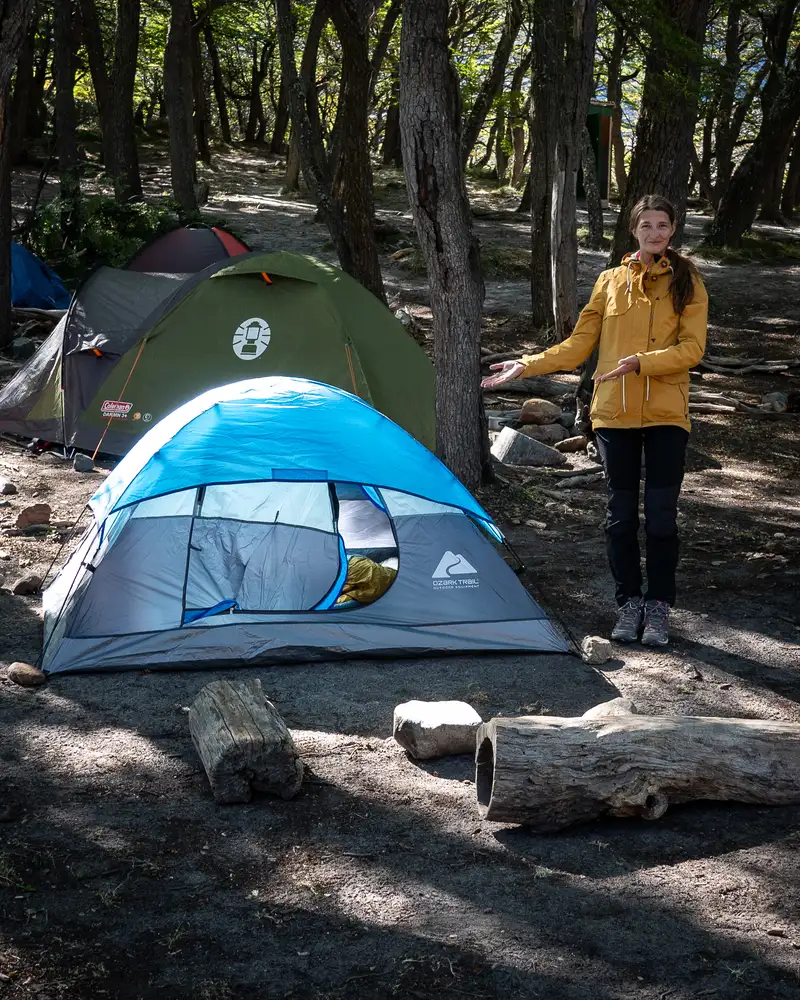
We packed our backpacks and set off on the trail to Torre Lagoon, a 9 km hike one way. We’d rate it as a moderate hike, with some gradual inclines and stunning scenery along the way. Unfortunately, when we reached the lagoon, the mountains were completely hidden by clouds. Instead of continuing to Fitz Roy that day, we decided to camp overnight at Agostini Campground (no reservation needed).
The campsite had plenty of space for tents, a dry toilet, and a water source about 900 meters away. However, the night was quite tough, as the temperature dropped to 0°C, making for a chilly and challenging experience!

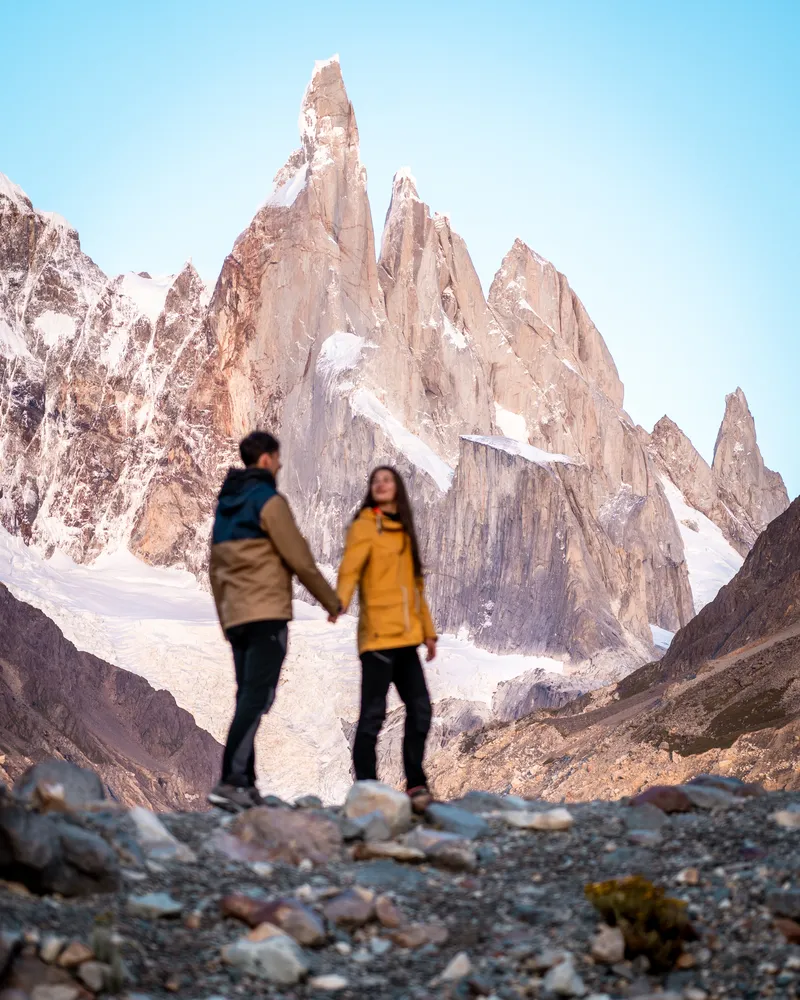
DAY 8: Sunrise and the Iconic Fitz Roy Hike
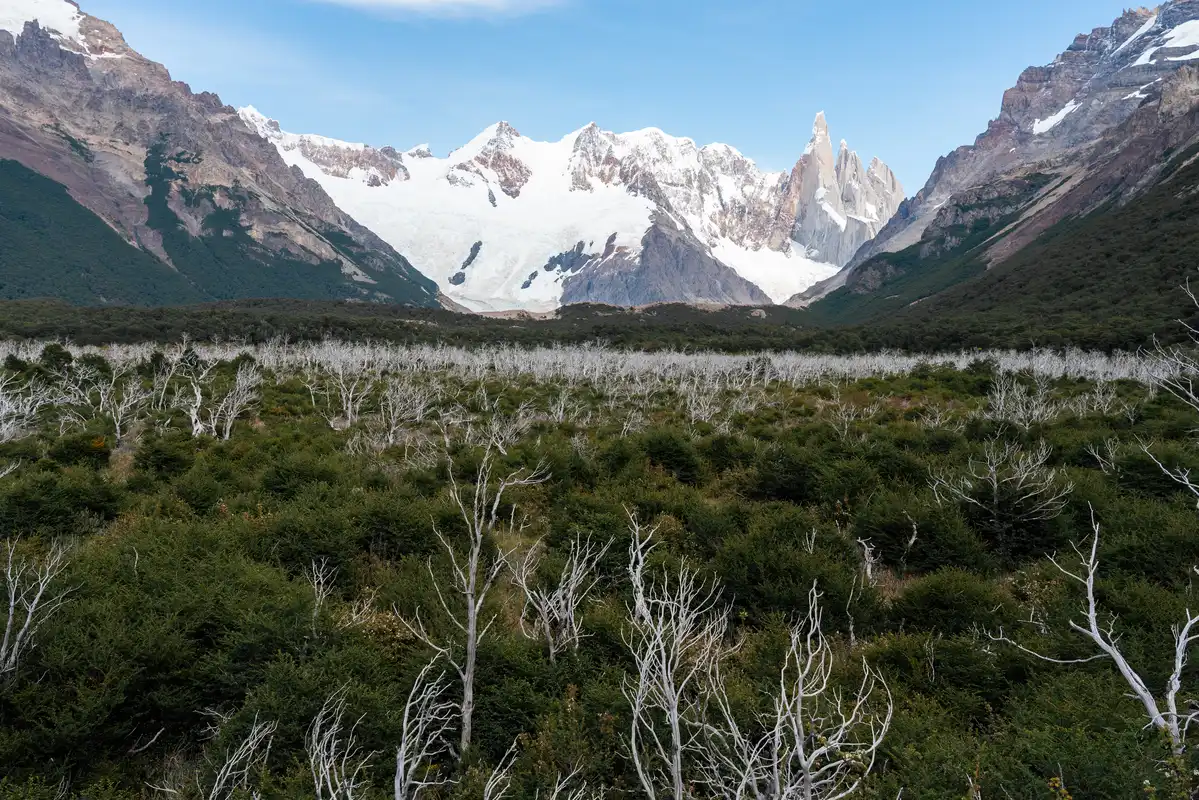
We woke up early to catch the sunrise over Torre Lagoon, and we were incredibly lucky—the clouds cleared, and the mountains revealed themselves in all their glory. It was an unforgettable sight! After soaking it all in, we prepared breakfast at the campsite and set off for Fitz Roy.
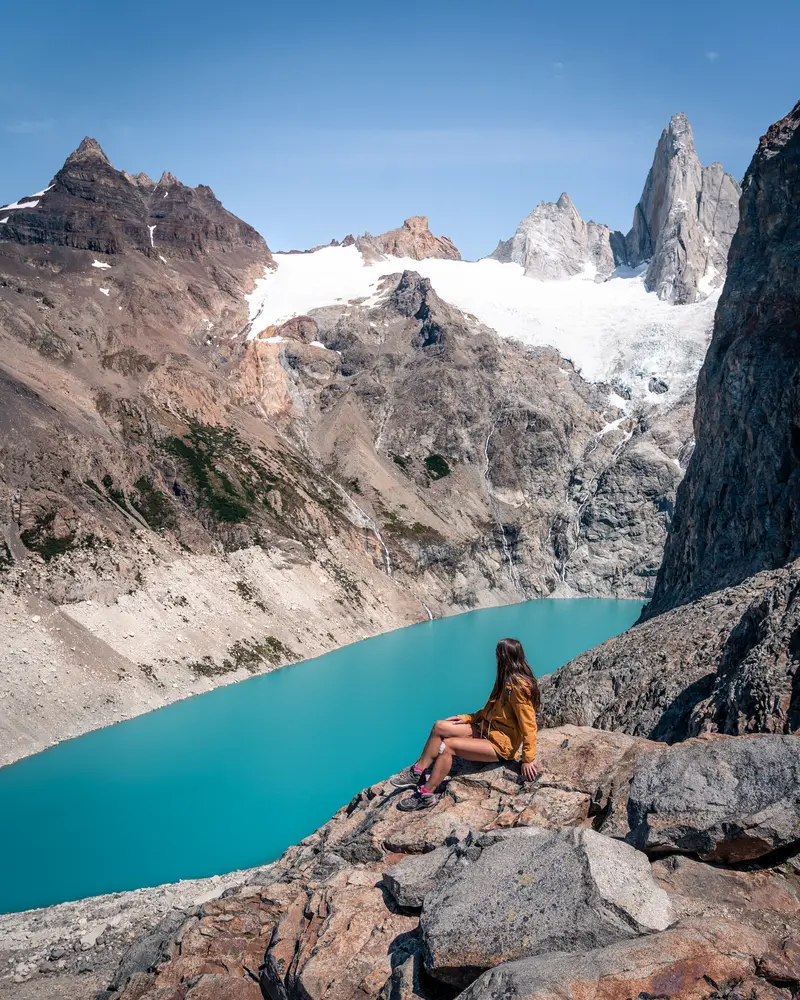
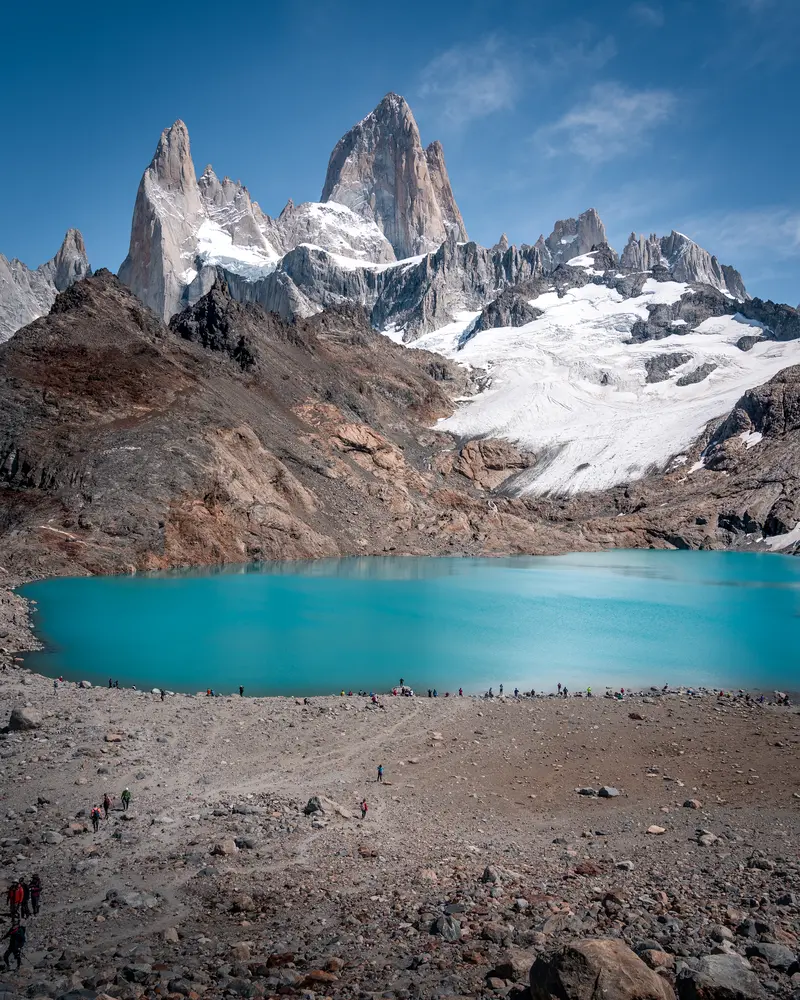
The trail to Laguna de los Tres was 15 km long with a 684-meter elevation gain, offering epic views throughout. We left most of our gear at Campamento Poincenot and tackled the final, most challenging 1 km to the lagoon. This section is steep, so be prepared for a tough climb. However, the stunning views at the top make every step worthwhile. This is one of the most iconic hikes in Argentina, so don’t miss it!
Afterward, we returned to Campamento Poincenot to collect our gear and hiked another 11 km back to El Chaltén. Exhausted but thrilled, we celebrated with a well-deserved beer at La Cervecería. Then, we crashed at Hosteria Los Ñires for a much-needed night’s sleep.
Important: Note that from 2024, the trails in El Chaltén are no longer free. The national park is charging an entrance fee for the hikes in El Chalten. It is $30,000 pesos for international visitors and 50% off your second day ($45,000 pesos). The use of the ticket for the 2nd entry can be made up to 72 hours after the 1st entry. You can get your passes from the national park system’s website where you have to choose option Parque Nacional Los Glaciares.
DAY 9 – DAY 10: Exploring Torres del Paine
After El Chaltén, we decided to head to Torres del Paine, and it turned out to be a great call based on the weather forecast (we used the Windy app, which worked well in Patagonia). The drive took about 7 hours, and we spent the night sleeping in the car near the Welcome Center.
You can explore Torres del Paine as a day hike or opt for multi-day treks like the W Trek or O Circuit. However, we learned that campsites for these longer hikes need to be booked well in advance. By the time we started planning, just a month before, everything was already reserved. Next time, we’d definitely go for the multi-day hikes, as the scenery is absolutely stunning.
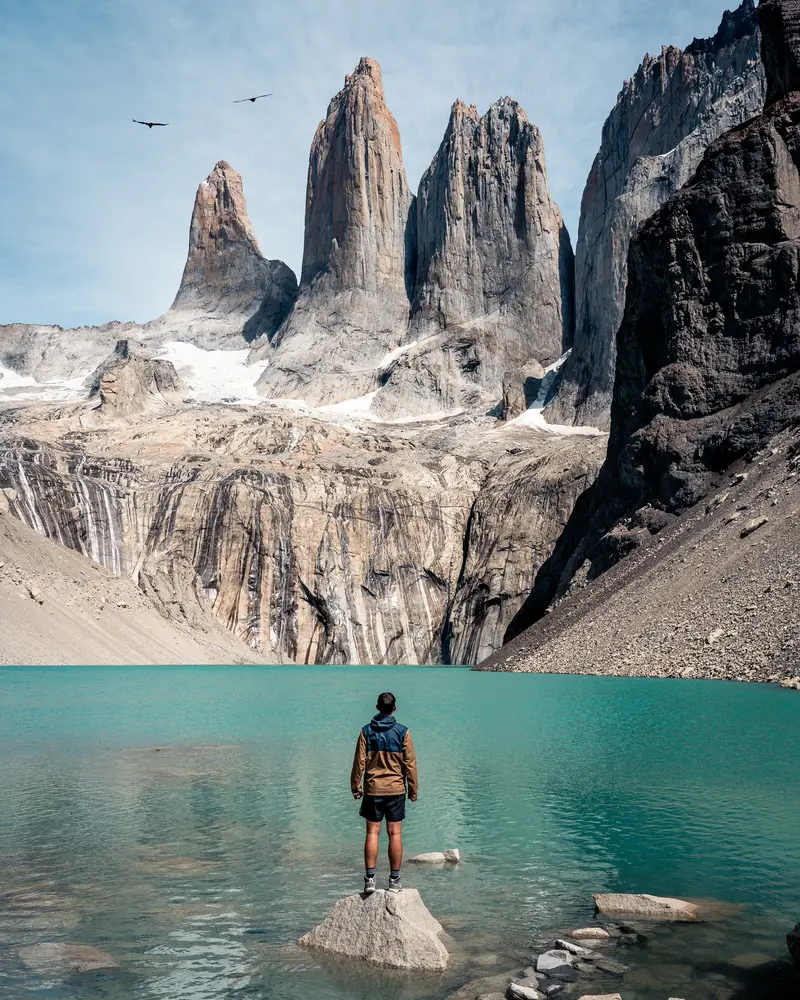
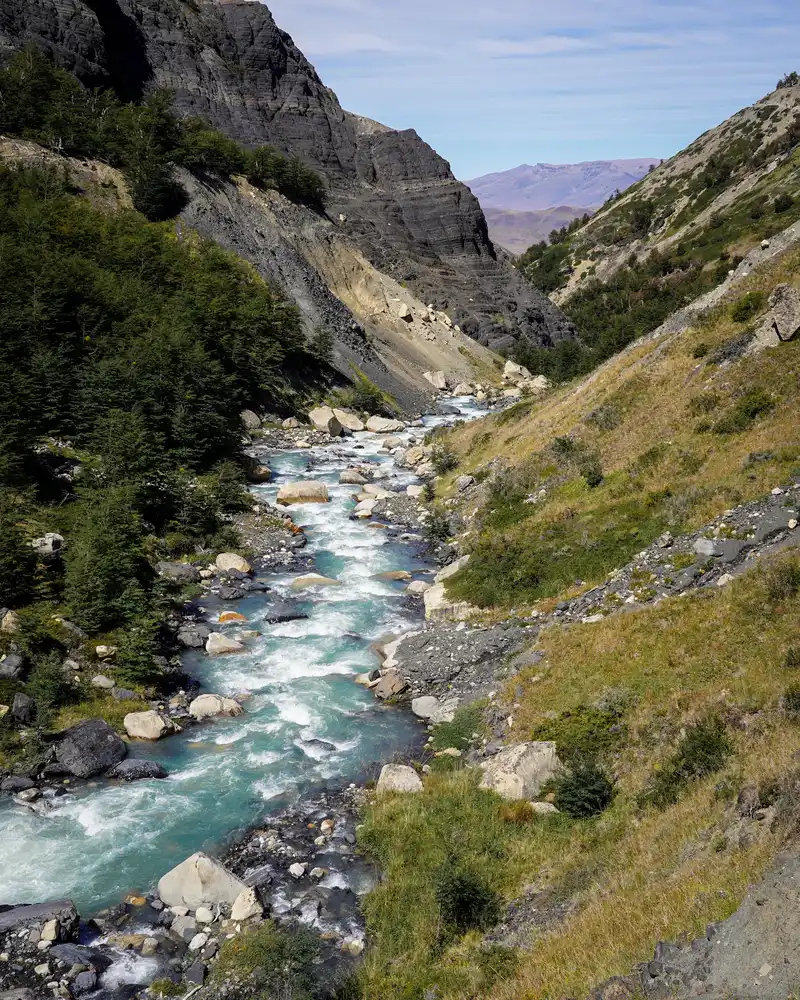
On Day 9, we woke up early to beat the crowds. The classic Torres del Paine Base hike is 20 km round trip with an elevation gain of 1,014 meters, so we knew we were in for a challenging day. Fortunately, we had beautiful weather on February 2nd—sunny, warm, and with low wind.
You must buy your entrance ticket to Torres del Paine National Park in advance on the CONAF website. Entrance fee for foreigners is starting from $31.200 CLP (34 USD) and ticket is valid for 3 days – Oct 2024.
If you have extra time after the main hike, we also recommend checking out Mirador Nordenskjöld Lake,Salto Grande Lookout, Mirador Condor, or Laguna Amarga for more breathtaking views of this incredible national park.
DAY 11: Relaxing in Puerto Natales
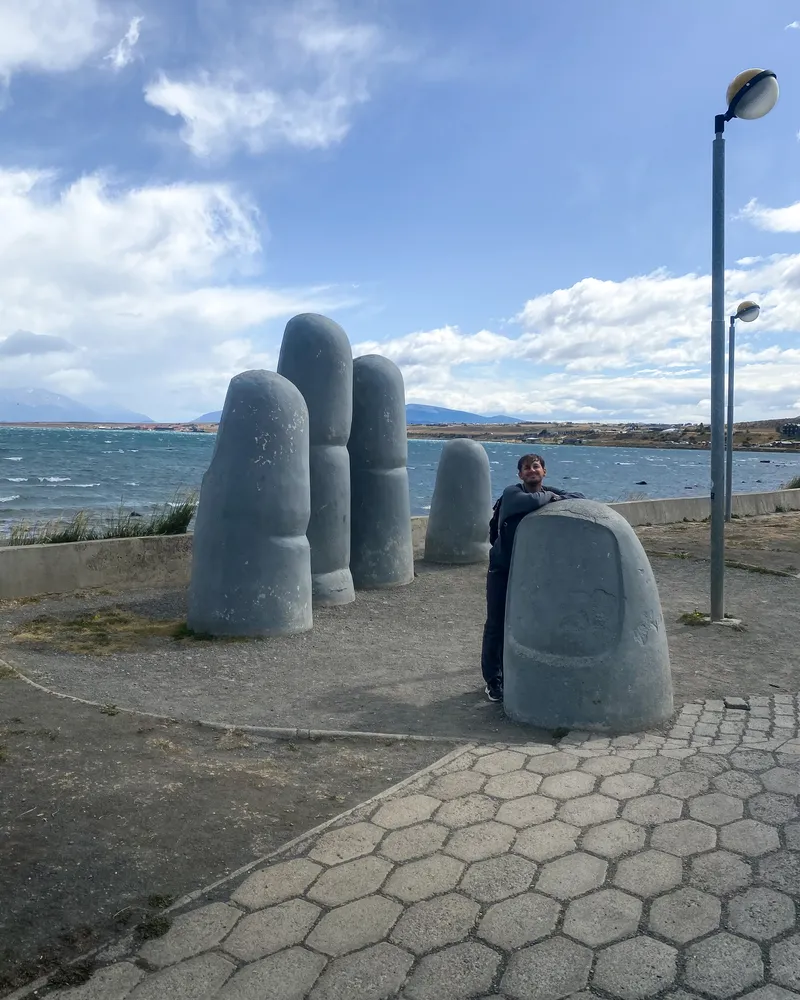
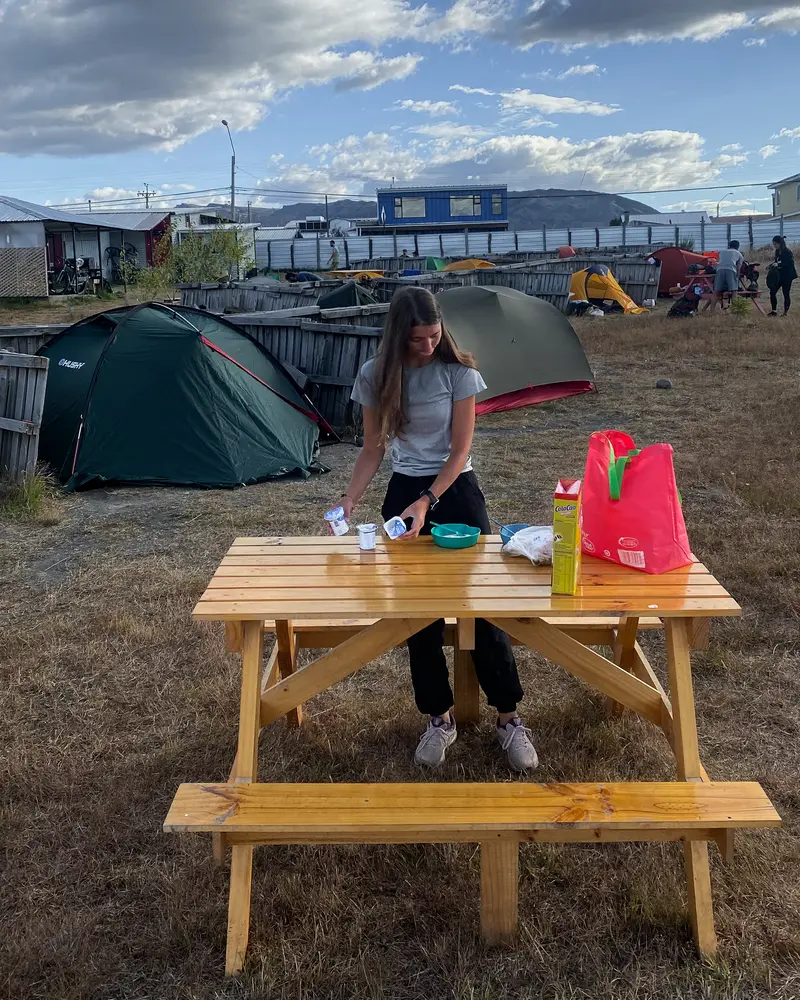
After our adventure in Torres del Paine, we drove down to Puerto Natales and took a relaxing stroll along the sea wall. We treated ourselves to a beer and some delicious Patagonia Blend coffee. Later, we settled in for the night at Camping Güino, an affordable spot with a kitchen and warm showers. After the challenging hikes, it was exactly what we needed to recharge.

DAY 12 – 13: Reserve Days
Have at least one day a reserve day in your Patagonia travel itinerary in case you need to change plans based on weather!
DAY 14: The Last Day in Punta Arenas
After returning our rental car in Punta Arenas and trying the most famous local dish, choripanes, at Kiosko Roca Punta Arenas, we hopped on a flight to Puerto Montt. This was the gateway to our next two-week adventure on the breathtaking Carretera Austral (Ruta 7). For more details on this epic road trip, check out our dedicated article with everything you need to know.

Patagonia Travel Itinerary: Things to Know Before
- Unpredictable Weather: Patagonia is known for its wild, ever-changing weather. In the mountains, the conditions can shift dramatically within minutes. Be prepared by packing extra layers, as well as waterproof clothing and shoes. You’ll thank yourself when the skies turn from sun to rain in a flash.
- The Infamous Patagonian Winds: The wind in Patagonia is legendary—so strong it could literally knock you off your feet. Thankfully, we didn’t experience that!
- Patagonia Is Expensive: Accommodation, car rentals, entrance fee and dining out can quickly add up in Patagonia. To stay on budget, we bought a tent, a stove, and cooking gear, transforming our rental car into a cozy mobile home. This is a great way to save money while still exploring all the beauty Patagonia has to offer.
- Be Ready for Unpaved Roads: The rugged terrain means you’ll likely encounter unpaved roads, and with them, the potential for flat tires and cracked windshields (both happened to us!). We highly recommend opting for extra window insurance from your car rental company. It’s worth the peace of mind.
- Prepare for Cold Days, Even in Summer: Even during the height of summer, temperatures can drop unexpectedly or during the night. Make sure to bring warm clothing to stay comfortable during those chilly moments.
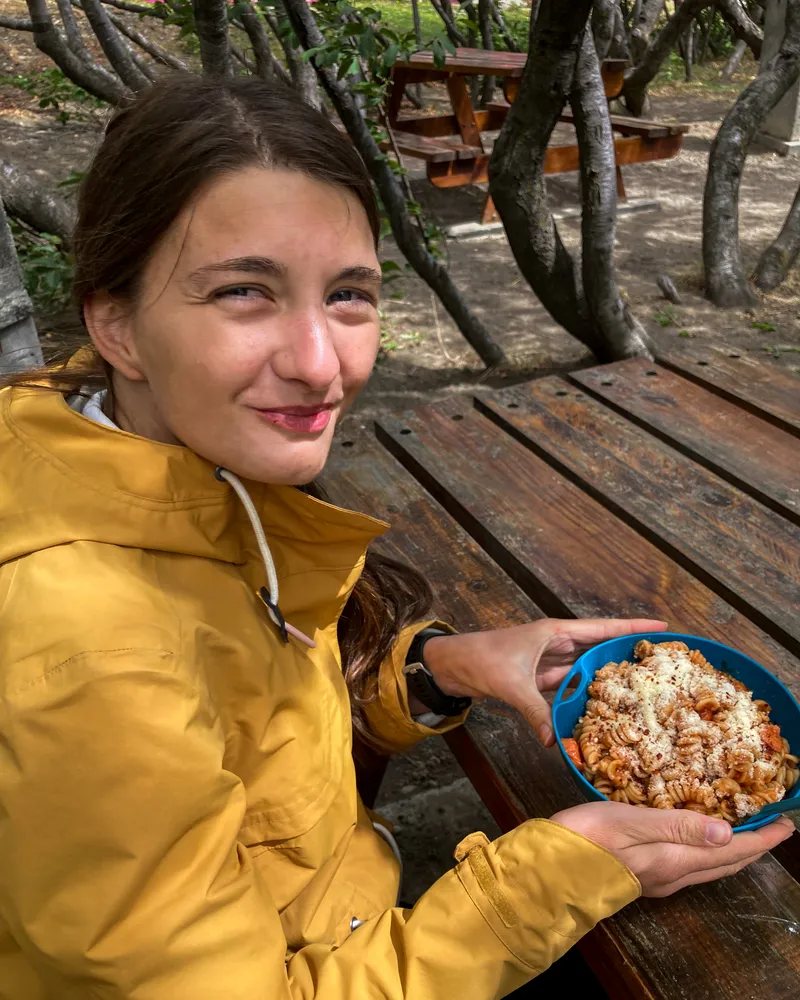
Patagonia Travel Itinerary: Must Have Apps
- Windy: is an exceptional weather forecasting tool, and in Patagonia, it’s the only app that consistently worked for us.
- iOverlander: An absolute must-have for any traveler! Whether you’re searching for a place to spend the night—be it an established campground, wild camping spot, or unofficial campsite—iOverlander has you covered. It also helps you find hot showers, Wi-Fi, laundromats, fuel stations, and much more. This app was our go-to for everything on the road.
- Spanish Dictionary: If you don’t speak Spanish (like us), having a good Spanish dictionary app is invaluable.
- Mapy.cz: Our all-time favorite for trail maps worldwide! With Mapy.cz, you can download offline maps in advance, which is crucial because most areas of Patagonia lack cell signal. This app is perfect for planning hikes and finding trails even when you’re off the grid.
- WhatsApp Widely used throughout Patagonia, and we even booked our rental car via this app.
Wifi/Cell Coverage in Patagonia
Even with local SIM cards from two different providers, we found it extremely challenging to get a signal along the way. Connectivity can be scarce, especially in remote areas, so it’s important to plan accordingly. Budget hotels often come with slow or unreliable Wi-Fi.
To avoid getting lost, we made sure to download offline maps from Google Maps and Mapy.cz before setting out. This was a game-changer for navigating through areas without cell coverage.
If you’re traveling to Patagonia, we recommend getting a Claro SIM card for Argentina and a Movistar SIM card for Chile.
Another great option is to purchase an eSIM. We used Airalo eSIM throughout our journeys and were always satisfied with its performance. It’s a convenient option if you prefer not using physical SIM cards. However, we haven’t tested it in Patagonia yet.
Thank you for reading the article, we hope you enjoyed our Patagonia travel itinerary. Don’t hesitate to comment if you have any question! 🙂

